It might seem challenging to paint a popcorn ceiling, but anyone with the right tools, supplies, and techniques can do it. With this blog post, we’ll show you how to set up your workspace, choose the best paint so that it doesn’t get everywhere while you’re painting, choose the right roller, and use the proper techniques to paint your popcorn ceiling evenly. So, whether you plan to do this job yourself or hire a professional, get ready to turn the ceiling of your living room into a modern work of art.
Which paint and finish should be used?
When deciding which paint and finish to use on your ceiling, consider the type of texture you have. You should use flat interior paint to hide flaws or imperfections if it has a texture. An eggshell finish is usually recommended for drywall ceilings as it is durable.
Getting the right amount of paint for your project is very important. Most of the time, you will need 15-20% more paint to paint a textured ceiling than you would paint a smooth ceiling because the texture makes the area of the surface bigger. If you use good paint that keeps mildew away, you can avoid expensive repairs in the future.
Last, you should always buy ceiling paint for your project. Ceiling paint is made to cover well and last for a long time. It also keeps things from getting dirty, turning yellow, or fading. You can ensure your ceiling looks great and lasts for years by using the right tools and following these tips.
How do I choose the best roller?
The finish of your roller will depend on the type of paint and finish you wish to use. A nap roller is best for thicker coatings like latex- or oil-based paints. To accommodate different paint coats, nap rollers come with various nap lengths—the length of the fiber loops that make up the material. The longer the nap length, the more coverage it will provide for thicker coatings. Foam rollers are great for thinned-out paints and finishes like stains and varnishes; they’re also easier to clean than their napped counterparts. Finally, sash rollers are designed specifically for tight spaces, such as window frames and door trim; their shorter handles make them ideal for smaller areas.
No matter which type of roller you choose, make sure it is rated for the paint or finish you are using. Pay attention to other features, such as handle length and type (many come with ergonomic grips) and a frame that is easy to clean and maintain. Additionally, if your project requires a patterned finish, a mini-roller may be your best choice; these small rollers can help quickly achieve intricate designs. With the right roller, you’ll soon have perfectly painted popcorn ceilings!
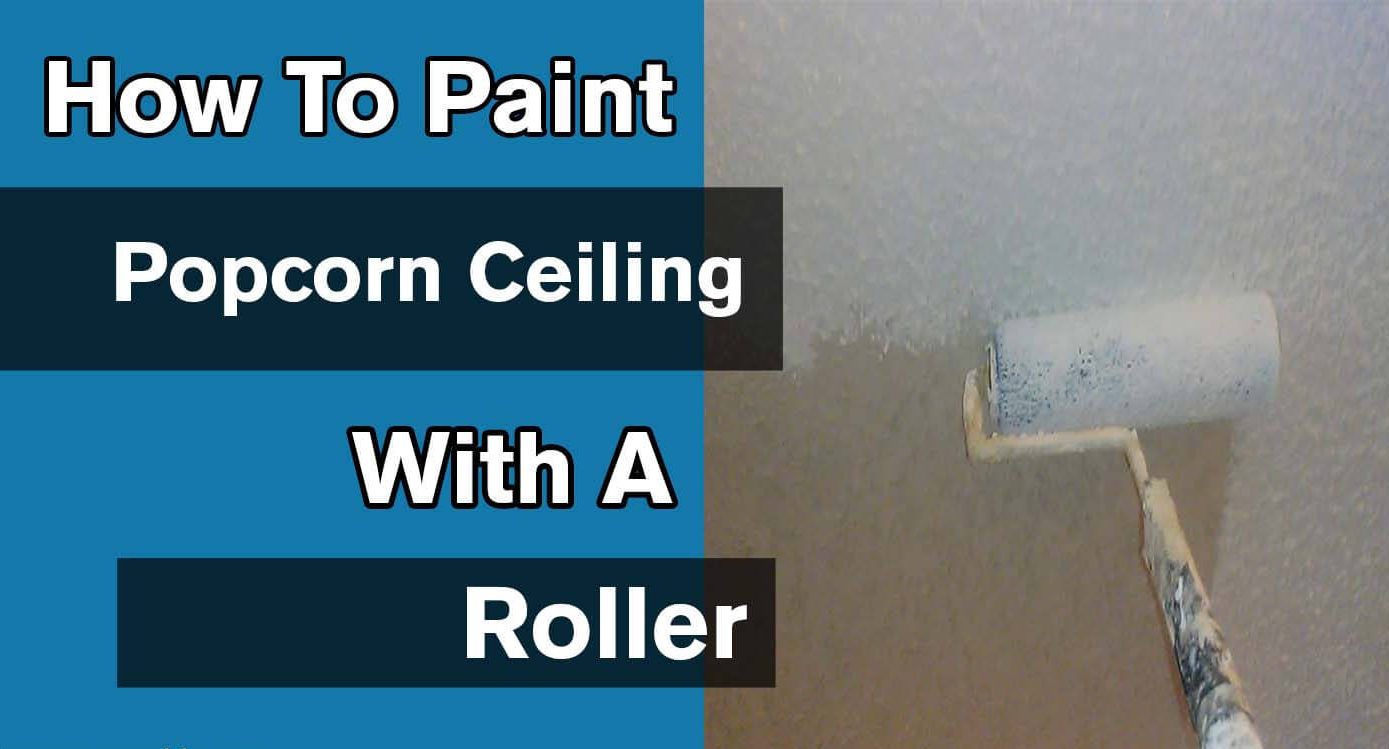
How to Paint a Popcorn Ceiling With a Roller?
Start by preparing the area for painting. This includes covering furniture and floors with plastic sheeting or a drop cloth, turning off fans and air conditioning, and removing wall decorations close to the ceiling. Wear safety glasses and dust masks when doing this and during preparation steps like sanding or scraping the ceiling.
Required Tools:
Once the area has been prepped, gather your tools: dust masks, safety glasses, painter’s tape, plastic sheeting and drop cloths, roller and extension pole or ladder, paint tray or bucket with a painted screen, an angled brush for cutting in (outlining) and touch-ups, vacuum with a soft brush attachment or feather duster.
Clean the Ceiling:
Clean the popcorn ceiling with a vacuum and soft brush attachment to remove dust, dirt, and cobwebs. Alternatively, you can use a feather duster to do this. Make sure you’re wearing your dust mask at all times as well for protection against airborne particles.
Patch Any Damaged Areas:
Use spackling paste or joint compound to patch any holes or damaged areas on the ceiling before painting. Allow it ample time to dry before beginning the next step.
Prime the Ceiling:
Once the patched area is dry, use a paint roller and an extension pole to apply an oil-based primer for popcorn ceilings. Depending on how high your ceiling is, you might need to use a ladder instead of or in addition to the pole. Let the primer dry before moving on to the next step.
Painting:
Once the primer is dry, it’s time to start painting. Use an oil-based paint formulated for popcorn ceilings and apply it with a roller and extension pole or ladder, just as you did with the primer. Work in small sections and wait until each area is dry before continuing to the next one.
Cutting In:
For corners and edges that are hard to reach with the roller, use an angled brush to “cut in” or outline these areas. This will ensure no visible lines from where the roller couldn’t reach.
Touch-ups:
Once the painting is complete, go back over any areas that need additional touch-ups or coverage with an angled brush. Allow ample time to dry completely before removing plastic sheeting or drop cloths.
Finishing Up:
Finally, vacuum the entire ceiling with a soft brush attachment to remove any debris and dust accumulated during the painting process. This will help keep it looking neat and clean for years to come. Enjoy your freshly painted popcorn ceiling!
Frequently Asked Questions:
The best roller to use when painting a popcorn ceiling is one with a thick, fluffy nap. This roller type will help ensure even coverage on your textured surface and allow you to get into all the nooks and crannies without leaving any gaps. Using an extension pole to reach up high without climbing a ladder is also essential.
Make sure you have some painter’s tape, drop cloths, and primer before you start. Use painter’s tape where two surfaces meet, like the baseboards and walls, and around fixtures and outlets. Drop cloths should keep paint from getting on the floors and other surfaces around them. The primer must also make sure the paint sticks well and lasts for a long time.
It’s essential to clean your popcorn ceiling before applying any paint. This will help ensure the paint adheres properly and remove any dust, dirt, or grime that may have built up over time. The easiest way to clean a popcorn ceiling is with a vacuum cleaner equipped with an upholstery attachment, such as those found on most canister vacuum cleaners. Use this attachment to gently suck away all the dust and debris from your ceiling without causing damage. You can also use a mild soap-and-water solution on stubborn spots.
In some cases, applying multiple coats of paint may be necessary to get the desired look. This is especially true if you’re using a darker color or applying a different shade than what’s already on your popcorn ceiling. Using multiple coats, ensure each is completely dry before adding another layer. Otherwise, the wet paint can cause the colors to collapse and create an uneven finish.
Yes! The key is to keep the roller lightly loaded with paint and move it in overlapping circles while painting. You should also ensure that you stay as close as possible to the edges of the room so that you don’t leave any gaps behind. Additionally, taking your time while painting is essential as avoiding rushing the process to ensure even coverage with minimal brush strokes.
When selecting a type of paint for your popcorn ceiling, you should choose an acrylic-based paint designed explicitly for textured surfaces. This type of paint will help reduce cracking and bubbling, which often occurs when using traditional paints on textured surfaces. Additionally, select a high-quality product specially formulated for ceilings, as this will provide better coverage and durability over time.
Yes! If you’re not happy with the results of your first coat, you can always add a second one. However, wait until the first coat has completely dried before adding another layer. Additionally, if you notice any areas needing more coverage or touch-ups, these should be addressed before beginning your second coat of paint.
Conclusion:
Finally, painting a popcorn ceiling with a roller needs time and forethought. Your popcorn ceiling will look its finest if you take the necessary precautions to protect your furniture, floors, and other surfaces. Before painting, always use a suitable primer designed for textured surfaces and gentle brushes to remove dirt from the surface. If you have patience and an eye for detail, you won’t have to work too hard to improve the appearance of your popcorn ceiling. In general, painting a popcorn ceiling with a roller is not impossible. All you need to do is plan ahead of time and be patient. By following the methods outlined above, you can ensure that your finished product looks fantastic while avoiding costly damage or repairs in the future.
Read More:
- How Long Does Primer Spray Paint Take To Dry
- How To Spray Paint Wood Chairs
- How To Thin Water-Based Paint For Roller
- How Long Does Spray Paint Take To Dry Metal
- Is It Better To Spray Or Roll the Interior Paint
- Does A Paint Sprayer Use More Paint Than A Roller
- How To Thin Water-Based Paint For Spraying
- How To Clean Wagner 350 Paint Sprayer
- How To Paint A Textured Ceiling With A Roller
- Which Is Better, Air Or Airless Paint Sprayer
- How To Use Hvlp Spray Gun
- How Long Does Spray Paint Take To Dry On Cardboard
- Graco Magnum Prox17 VS X5