Have you ever sprayed something with an HVLP spray gun? If that’s the case, you’re in the right place. This blog post will show you how to choose and use an HVLP spray gun for your next painting project. We can tell you what kinds of liquids and materials can be sprayed from an HVLP, what size tips work best, and how to follow different safety rules. Read on to find out how to get the best results from a High Volume Low Pressure (HVLP) sprayer.
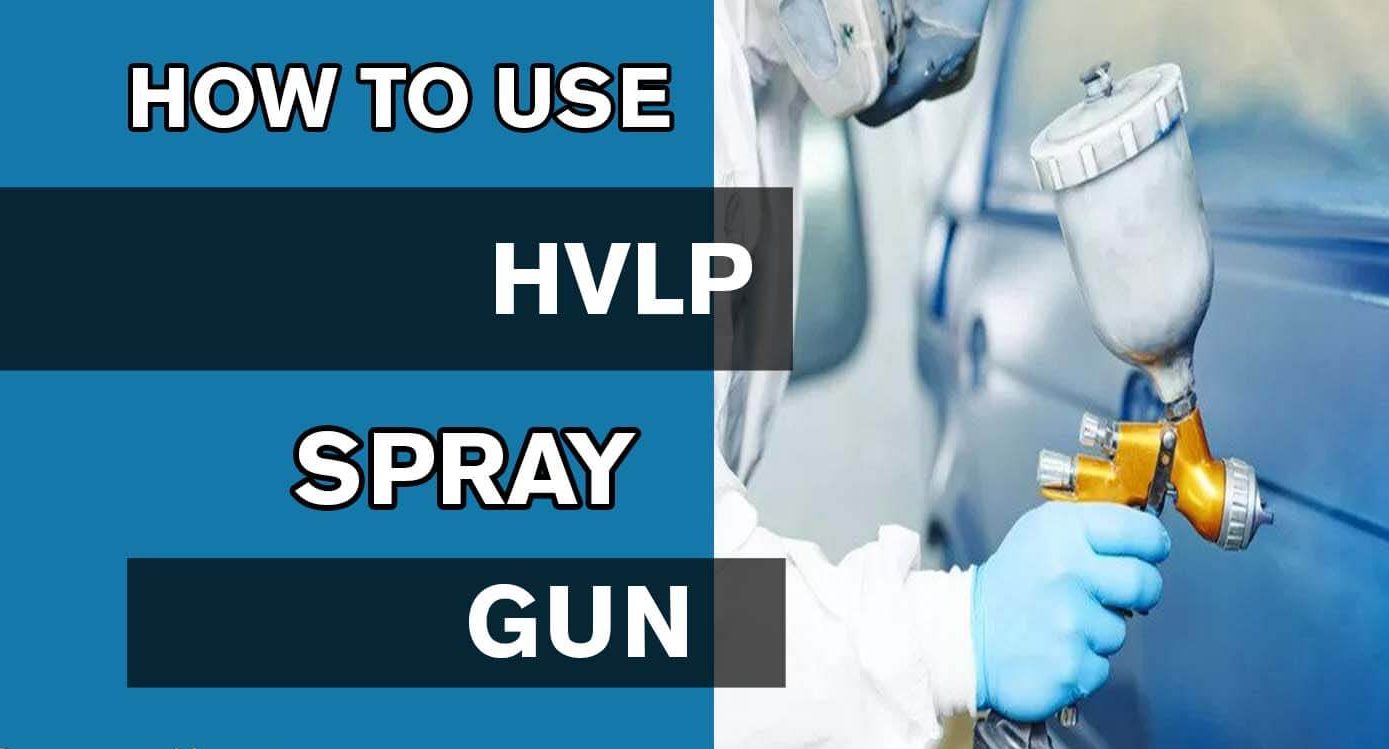
What Is An Hvlp Spray Gun?
An HVLP spray gun is a paint sprayer that breaks up the material being sprayed into small pieces using compressed air. It makes a fine mist and doesn’t spray much, so it’s great for putting on thin layers of liquid finishes like lacquer, varnish, enamel, and others. The spray pattern from an HVLP gun is very even and easy to control. It makes a coating that is smooth and even.
The low-pressure operation also reduces the chances of overspray and other environmental problems with systems that use more pressure. People who work with wood and finish it often use an HVLP spray gun because it is accurate and easy to use. Also, it costs a lot less because it uses compressed air instead of traditional airbrush tools. The right way to use a spray gun can make any project look great.
How To Set Up and Use Your Hvlp Spray Gun?
Step 1: Set Up Your HVLP Spray Gun
Before you start using your HVLP spray gun, you must ensure it is ready. The first thing to do is hook up any hoses and nozzles that came with the gun. Make sure these are securely fastened so that no paint leaks while you are painting. Next, take the cup lid off the top of the gun and put a clean filter in the top air cap. Put the lid back on the cup.
Step 2: Prepare The Paint And Thin It As Necessary
You can start getting the paint or coating ready to spray as soon as your HVLP spray gun is set up and ready to go. First, get the right amount of paint and put it in a clean container. Then, if necessary, thin the paint or coating material with a compatible thinner, following the manufacturer’s instructions.
Step 3: Fill The Cup On Your HVLP Spray Gun
When you’re ready to start painting, take the cup lid off your HVLP spray gun and fill the cup with the prepared paint or coating material. Make sure not to fill it too much; you should only fill it up to two-thirds of the way. When you’re done, put the cup lid back on tightly.
Step 4: Connect Your Compressor To The HVLP Spray Gun
Next, attach the hose from your compressor to the air inlet on the HVLP spray gun. Make sure the connection is safe and that no information is leaking out. At this point, you can also set your compressor’s pressure according to the manufacturer’s instructions.
Step 5: Turn On The Compressor And Start Spraying
Now you can start spraying. When painting, wear safety gear like a face mask and rubber gloves. Pull the trigger on your HVLP spray gun and move it back and forth over the surface you want to paint or coat. Hold the trigger until a light coat of paint covers the whole surface. Don’t overspray. When you’re done, let go of the trigger and turn off the gun and the compressor.
Step 6: Clean Up And Reassemble The Parts
When you are done using your HVLP spray gun, clean it well before putting it away or using it again. Start by removing the compressor hose and using a paper towel to wipe out any paint in the gun’s cup. Then, remove every nozzle attachment and put it in a separate container with mineral spirits or acetone to clean it. Lastly, put the gun back together and store it somewhere safe when you’re not using it. Using an HVLP spray gun is easy if you take the right safety measures. You can get great results from your HVLP spray gun with just a few easy steps.
How To Use Hvlp Spray Gun?
Using an HVLP (High Volume, Low Pressure) spray gun is a great way to give many different types of projects a smooth, professional-looking finish. The HVLP spray gun can give you the desired results for everything from painting cars to woodworking projects.
Here’s what you need to know about using your HVLP spray gun:
Required Tools:
The HVLP Spray Gun:
This is the main equipment you’ll need to start your project. Ensure you have one with a fresh filter and that it works properly.
Compressed Air Supply:
You will need an air compressor for running the HVLP spray gun. It must be rated for at least 20 cfm (cubic feet per minute) at 40 psi (pounds per square inch).
Air Regulator & Gauge:
A regulator and gauge should be used to adjust the pressure from the compressor so that it’s appropriate for spraying material with your HVLP spray gun.
Paint Cup & Strainer:
It would help to have a paint cup to hold your material and a strainer to filter out impurities.
Masking Tape & Drop Cloths:
These items are essential for protecting the area around your project from overspray.
Safety Equipment:
Always wear eye protection and a respirator when working with an HVLP spray gun.
Preparation:
Set up the Area:
Ensure you have all the safety equipment you need (eye protection, respirator) and that the area is well-ventilated; you don’t want to breathe in any of the fumes produced by spraying! Also, ensure drop cloths or tarps are laid down, so your project isn’t damaged by overspray.
Prepare the Paint:
Mix your paint according to the manufacturer’s instructions and pour it into a clean, filtered paint cup; use a strainer to remove any impurities that could clog your spray gun.
Adjust the Air Pressure:
Use an air regulator and gauge to adjust the pressure from your compressor so that it is appropriate for spraying material with your HVLP spray gun (usually between 10-40 psi).
Spraying:
Test Spray:
Before painting, do a few test sprays on scrap wood or cardboard to get comfortable using your HVLP spray gun. Make sure the pressure is set correctly and that your technique is good.
Start Spraying:
Once you’re comfortable, spray your project in overlapping strokes from one side to the other. Move slowly and steadily so you don’t get any runs or drips in the paint.
Clean Up:
Make sure to clean up any paint on your drop cloths or tarps when you’re done. Then remove the spray gun and clean it according to the manufacturer’s instructions before putting it away for later use! Using an HVLP spray gun is a great way to make many projects look like they were done by a professional. You can do great things if you learn a few things and put them into practice.
How To Choose the Right Hvlp Spray Gun?
HVLP spray guns are one of the most popular tools for painting and coating. They spread paint more evenly than traditional airless sprayers, and they use less paint to do it. But how do you choose the right HVLP spray gun? Here are some tips to help you decide which one is best for your project:
Pressure:
HVLP paint sprayers use a lot of air at a low pressure to break the paint into tiny particles. This makes for a soft, even coat. Different models have different maximum pressures, so pick the right one for your project.
Material Compatibility:
Before you buy anything, check the manufacturer’s website for a compatibility chart. Not all materials can be used with HVLP spray guns.
Air Supply:
An HVLP sprayer is only as good as the air it uses, so make sure you get a powerful enough compressor and filter system for your needs.
Capacity:
Consider how much material you want to spray at once when selecting an HVLP spray gun. If the sprayer is too small, it will not cover the area as thoroughly as possible. If it is too large, your projects will take longer than necessary.
Quality:
Finally, always purchase a high-quality HVLP spray gun from a reputable company. It may initially cost more, but paying more for quality will save you time and money. You can ensure that you make the best investment for your project by remembering these tips when shopping for an HVLP spray gun.
Frequently Asked Questions:
Depending on the project, an HVLP gun should be set between 0.1 and 10 PSI. If you select the pressure too low, there may be too much overspray or paint that doesn’t look right. If the pressure is too high, there may be too much splashing, and the result may not be as good as it could be. Also, check the settings with the manufacturer’s instructions.
It would help to have a strong air compressor to ensure the spray quality is good when using an HVLP spray gun. It should have enough power to keep the pressure at the desired psi level. For most HVLP gun projects, a 3–5 hp motor is enough.
Most HVLP spray guns work best with paints that are made with water. But it’s important to check the instructions from the manufacturer for more information on what kinds of paintwork with the HVLP gun are being used.
The nozzle size depends on the effect you want and the substance you are spraying. Generally, a small nozzle (1.0mm or smaller) is best for fine detail work like finishing trim pieces. In contrast, a larger nozzle (1.4mm or larger) is better for painting large surfaces and thicker materials like furniture and cabinets.
Conclusion:
Lastly, an HVLP Spray Gun is a great way to paint hard-to-reach areas without making a big mess. If you do these things, an HVLP spray gun should easily get the desired results. Use the spray gun with the right safety gear and clean it well after each use to get the best results. You can do it like a pro in no time with some practice!
Read More:
- How Long Does Primer Spray Paint Take To Dry
- How To Spray Paint Wood Chairs
- How To Thin Water-Based Paint For Roller
- How Long Does Spray Paint Take To Dry Metal
- Is It Better To Spray Or Roll the Interior Paint
- Does A Paint Sprayer Use More Paint Than A Roller
- How To Thin Water-Based Paint For Spraying
- How To Clean Wagner 350 Paint Sprayer
- How To Paint A Textured Ceiling With A Roller
- Which Is Better, Air Or Airless Paint Sprayer
- How To Use Hvlp Spray Gun
- How Long Does Spray Paint Take To Dry On Cardboard
- Graco Magnum Prox17 VS X5