Have you ever had trouble with spray paint nozzles that got clogged? Find it more complex and challenging to get spray paint and other aerosols to work, right? Don’t be afraid! This blog post is meant to be helpful. Today, we’ll talk about how to clean and unclog any spray paint or aerosol can nozzle so that you can use spray paint or aerosol cans without trouble in the future. We’ll talk about the tools you’ll need for the job, show you step-by-step how to do it right, and give you some tips to help you in the long run. By the end of this article, you won’t have to worry about your spray paint nozzle getting clogged. Read on to find out how easy it is to get your Spray Paint cans back to how they were before.
Tips For Clogged Spray Paint Nozzle
Inspect Your Can:
Ensure the nozzle is securely screwed onto the can and any excess paint or buildup on the outside of your spray can have been wiped away before use. If you have a clogged nozzle, clean it off with a rag before proceeding.
Use Low-Pressure Settings:
Make sure to adjust your pressure settings low enough for whatever material you are spraying. High pressure will cause more clogs in the nozzle faster than lower pressures can.
Shake Your Paint Can Thoroughly:
Before beginning to paint, make sure that you shake your paint can thoroughly so that all of the ingredients in your paint mix together correctly and don’t get stuck in the nozzle while you are using it.
Clear Out the Nozzle:
If your nozzle is clogged, take some time to clean out the nozzle with a can of compressed air or a thin wire brush before continuing.
Clean Your Paint Can Regularly:
After every use, wipe off any excess paint that may have dripped down outside your paint can and around the nozzle so it doesn’t get stuck in the sprayer.
Don’t Overload Your Paint Can:
Make sure not to overload your paint can when spraying large surfaces; instead, break up the work into sections and fill up several smaller cans if need be. This will help avoid clogs caused by too much paint being sprayed simultaneously.
Rinse Your Nozzle Regularly:
After every use, rinse out the nozzle with warm water and a cloth or brush to keep it clear of any buildup that may be present.
Keep Control Over the Spray:
When spraying, control the angle and direction of your spray so that you don’t take in more paint than is necessary for the task at hand.
Use Quality Paint Products:
Invest in quality paint products and nozzles if possible; this will help reduce the number of clogs that could occur with lower-quality items.
Clean Your Sprayer Between Different Types of Paint:
Whenever switching between different types of paint, it is essential to make sure and clean out your sprayer thoroughly before beginning; this will help avoid contamination between the two different products.
Remember these tips while working with spray paint cans and nozzles, and you’ll find that clogs are much less likely to occur!
How To Clean Clogged Spray Paint Nozzle
If you have ever encountered a clogged spray paint nozzle, then you know that it can be a frustrating experience. Luckily, there are several ways to unclog the nozzle quickly and easily. Here are some of the most common methods for cleaning a clogged spray paint nozzle.
Method 1: Clean Out the Nozzle with a Needle or Pin:
Step 1: Remove your spray paint can cap and locate the nozzle.
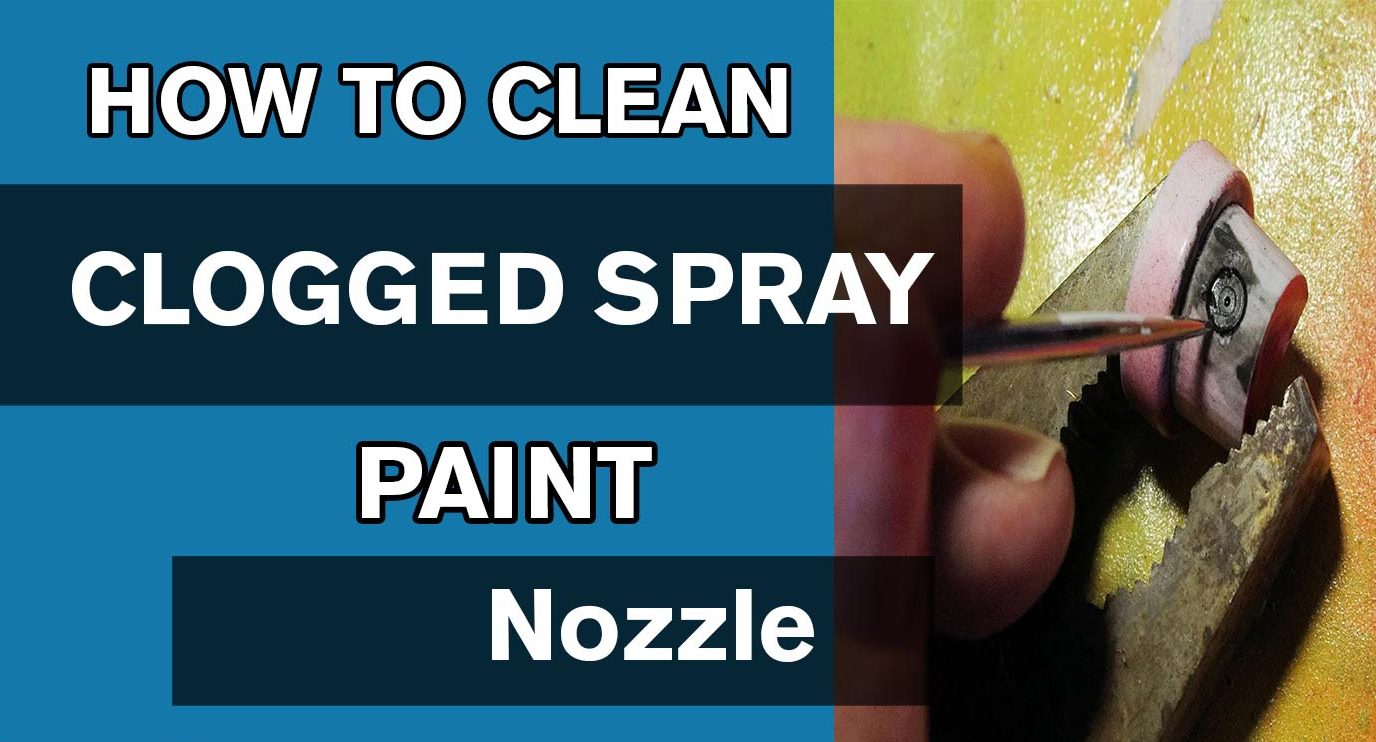
Step 2: Get a needle or safety pin and carefully insert it into the clogged nozzle.
Step 3: Move the needle around to try to loosen up any debris clogging the nozzle. Be careful not to push too hard, as this could damage the nozzle.
Step 4: Once you loosen up any clogs, put the cap back on and try again. The clog should be gone!
Method 2: Use a Can of Air Duster or Compressed Air Canister:
Step 1: Take off your spray paint can cap and locate the nozzle.
Step 2: Get a can of air duster or compressed air canister and hold it upside down, with the nozzle pointed directly at the clogged area.
Step 3: Squeeze the trigger to release air into the nozzle. The blast should be enough to dislodge any debris built up inside.
Step 4: Once you have removed any clogs, put the cap back on and give it another try. The clog should be gone!
Method 3: Soak in Paint Thinner or Mineral Spirits:
Step 1: Remove your spray paint can cap and locate the nozzle.
Step 2: Fill a small container with paint thinner or mineral spirits.
Step 3: Submerge the nozzle of your spray paint can in the container for at least 15 minutes to allow the solvent to break down any clogs.
Step 4: Once you have soaked the nozzle, put the cap back on and give it another try. The clog should be gone!
Method 4: Use an Old Toothbrush:
Step 1: Take off your spray paint can cap and locate the nozzle.
Step 2: Use an old toothbrush to scrub away any dried paint around the nozzle opening gently. This will help loosen up any debris that may be blocking the opening.
Step 3: Once you have cleaned off any dried paint, put the cap back on and give it another try. The clog should be gone!
Method 5: Use Hot Water:
Step 1: Take off your spray paint can cap and locate the nozzle.
Step 2: Get a pot or other container that is large enough to fit the entire nozzle of your spray paint can.
Step 3: Fill the pot with hot (not boiling) water and submerge the nozzle for at least 10 minutes. This will help break down any clogs and grease or oil buildup from painting.
Step 4: Once you have soaked the nozzle, take it out of the water, put the cap back on, and give it another try. The clog should be gone!
Following any of these methods, you should be able to easily and quickly clean out a clogged spray paint nozzle. Just make sure always to follow the safety guidelines when working with chemicals!
Frequently Asked Questions:
If your spray paint nozzle is clogged, you may experience poor performance. Sputtering, uneven coverage, and difficulty dispensing paint are all symptoms of a clogged nozzle. Additionally, the nozzle may become blocked with dried paint or dust particles that prevent the proper flow of liquid.
Several tools can be used to clean a clogged spray paint nozzle. Remove any dried-on gunk with an old toothbrush, and use a needle or pin to remove anything that won’t budge. You could also blow any dust or dirt out of the nozzle area with a can of compressed air.
If your spray paint nozzle remains clogged after cleaning it, you may need to replace it entirely. Fortunately, most spray paints include a replacement part that can be easily installed on the container. Assume you are having difficulty finding a compatible replacement. In that case, soak the existing nozzle in mineral spirits for several hours before attempting to clear any remaining residue or blockage.
Keep the cap on the can and store it away from extreme temperatures to avoid clogs in your spray paint nozzle. This will help keep dust and debris out of the nozzle area. Furthermore, try to keep your spray painting surface clean and free of any particles or other obstructions that could end up blocking the nozzle. Finally, never leave the can open for extended periods; this causes the liquid to evaporate, leaving behind solids that can clog the nozzle.
Conclusion:
Finally, clogged spray paint nozzles occur frequently and are simple to restore with the proper tools and methods. Using the proper safety precautions, you can quickly unclog the nozzle and get it working again. Always read the instructions on the product’s packaging for more information on how to clean your nozzle. If nothing else works, carefully remove the nozzle and thoroughly clean each component. If you take care of your spray paint nozzle and use it correctly, you should have no trouble keeping it in good condition.
Read More:
- How Long Does Primer Spray Paint Take To Dry
- How To Spray Paint Wood Chairs
- How To Thin Water-Based Paint For Roller
- How Long Does Spray Paint Take To Dry Metal
- Is It Better To Spray Or Roll the Interior Paint
- Does A Paint Sprayer Use More Paint Than A Roller
- How To Thin Water-Based Paint For Spraying
- How To Clean Wagner 350 Paint Sprayer
- How To Paint A Textured Ceiling With A Roller
- Which Is Better, Air Or Airless Paint Sprayer
- How To Use Hvlp Spray Gun
- How Long Does Spray Paint Take To Dry On Cardboard
- Graco Magnum Prox17 VS X5

