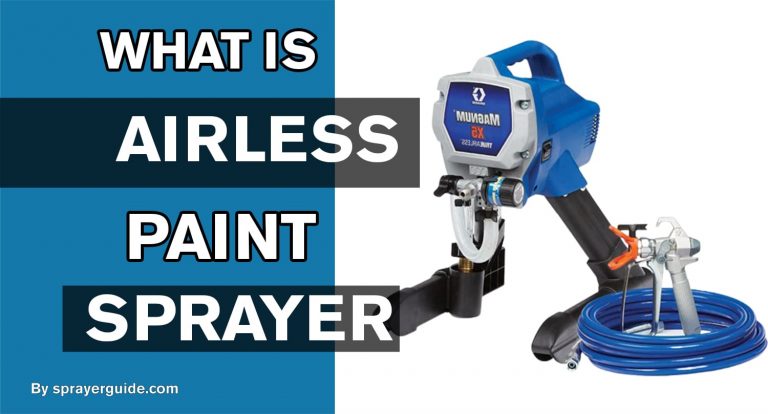
Are you looking for a quick and easy way to keep your Titan 440 Paint Sprayer in top condition? Whether you’re an amateur or professional painter, maintaining the cleanliness of your paint sprayer is essential in ensuring efficient working performance. Today we’ll cover everything from basic cleaning and maintenance tips to best practices for achieving thorough clean-up after each use. With these helpful guidelines and a bit of effort, you’ll have the necessary tools to maintain your Titan 440 Paint Sprayer for many years of successful painting projects.
Tools Required:
- Bucket or basin
- Garden hose or sink sprayer
- Cleaners: Mineral spirits, Dawn dishwashing liquid
- Filters: Inlet filter, gun filter, and suction tube filter
- Cloths and towels
- Soft bristle brush
- Air compressors with adaptor and pressure regulator
Using the right tools when cleaning your Titan 440 Paint Sprayer is essential. A bucket or basin should collect any paint flushed from the machine during cleaning. You can also connect a garden hose or sink sprayer directly to the unit for flushing out. You will need some cleaners to effectively remove paint residue from surfaces, such as mineral spirits and Dawn dishwashing liquid.
How To Clean Titan 440 Paint Sprayer
It would help to clean your Titan 440 Paint Sprayer regularly to ensure it works well and safely. Here’s what you need to do:
Preparation:
- Fill your bucket or basin with warm water, and then add a few drops of Dawn dishwashing liquid.
- Attach a garden hose, or sink sprayer to the water supply line.
- Prepare air compressors with an adaptor and pressure regulator for flushing out the machine.
- Collect several cloths and towels for wiping down surfaces. You may also need a soft bristle brush for scrubbing any stubborn paint residue from hard-to-reach places.
Cleaning:
- Turn off all power switches on the unit before beginning the cleaning process.
- Remove the inlet, gun, and suction tube filters and wash them in the cleaning solution.
- Flush the entire unit with warm water from the garden hose or sink sprayer. Move the nozzle around and flush out any paint residue that might be stuck inside.
- Wet a cloth with mineral spirits, and then use this cloth to wipe down all surfaces of the Titan 440 Paint Sprayer. This will help remove any paint residue from hard-to-reach places.
- Use an air compressor with an adaptor and pressure regulator to blow dry all surfaces for further cleaning.
Finishing:
- Reinstall all filters into their respective slots on the unit.
- Fully dry off all surfaces using clean towels or cloths before switching on the power to your machine.
These steps will help ensure your Titan 440 Paint Sprayer is appropriately cleaned and maintained. Regular cleaning of the paint sprayer will also increase its performance so you can get the best results.
How to Assemble Titan 440 Paint Sprayer?
To assemble the Titan 440 Paint Sprayer, connect the hoses that go in and out. The air inlet hose should be connected to an air compressor, while the outlet hose should be connected to a nozzle on the spray gun.
Step 1: Connect the Hoses
Connect the air inlet hose to an air compressor and the outlet hose to a nozzle on the spray gun. Ensure all your connections are secure and tight before using the Titan 440 Paint Sprayer.
Step 2: Install Nozzle and Needle
Carefully unscrew the cap from your spray gun’s barrel and insert a correct-size needle into the top opening of it. Now attach a corresponding nozzle to its bottom end before reinstalling the cap. Ensure all your connections are secure and tight before using the Titan 440 Paint Sprayer.
Step 3: Attach Spray Gun to Compressor
Now attach the spray gun to your air compressor using a coupler or an adapter, ensuring it is firmly connected. Also, for optimal performance from your Titan 440 Paint Sprayer, ensure that the pressure setting on your compressor is correctly set.
Step 4: Adjust Pressure Settings
Confirm that you have chosen the correct nozzle size for your project, and then adjust the regulator knob on top of your paint sprayer until you reach the desired pressure level.
Step 5: Test Spray Gun Functionality
Once everything is set up and connected correctly, please turn on the air compressor and squeeze the trigger of your Titan 440 Paint Sprayer to ensure it works. If anything is not working correctly, refer to the owner’s manual for troubleshooting help.
Your Titan 440 Paint Sprayer should now be fully assembled and ready to use! Always follow safety rules when using it, like wearing protective gear, keeping your skin away from what’s being sprayed, and ensuring enough airflow.
Frequently Asked Questions:
For thoroughly cleaning a Titan 440 Paint Sprayer, use mineral spirits and Dawn dishwashing liquid.
Yes, proper tools and equipment are essential when cleaning your Titan 440 Paint Sprayer. You will need filters (inlet filter, gun filter, and suction tube filter), a soft bristle brush, clothes and towels, and an air compressor with an adaptor and pressure regulator.
Your paint sprayer should be cleaned after each use to prevent paint build-up. You should also clean the filters and other components every few months or when the paint has been left in the machine for an extended period.
The best way to flush out paint from your sprayer is to use a garden hose or sink sprayer. The water should be at the highest pressure possible for an effective flush. Check all filters and components for any remaining paint particles before reusing the machine.
Conclusion:
Finally, a Titan 440 Paint Sprayer that has been properly cleaned and maintained will provide years of dependable service. First, remove any excess paint from the unit’s exterior to properly clean the sprayer. After that, disconnect all hoses and use a brush or cloth to clean the sprayer cup, body, and other components. To remove any remaining debris, flush the system with hot water and detergent. To ensure peak performance, only use manufacturer-approved parts when replacing filters or seals.
Read More:
- How Long Does Primer Spray Paint Take To Dry
- How To Spray Paint Wood Chairs
- How To Thin Water-Based Paint For Roller
- How Long Does Spray Paint Take To Dry Metal
- Is It Better To Spray Or Roll the Interior Paint
- Does A Paint Sprayer Use More Paint Than A Roller
- How To Thin Water-Based Paint For Spraying
- How To Clean Wagner 350 Paint Sprayer
- How To Paint A Textured Ceiling With A Roller
- Which Is Better, Air Or Airless Paint Sprayer
- How To Use Hvlp Spray Gun
- How Long Does Spray Paint Take To Dry On Cardboard
- Graco Magnum Prox17 VS X5


